
Project Task - Pillar
Similar to how it is in nature (change of seasons, water circulation, day and night, the rise and fall of sea level, etc.), in programming we can repeat certain steps multiple times. As in nature, in programming, it is necessary to run parts of a program several times to complete certain tasks. For these types of programs, we say that they contain repetitions, and these repetitions are called loops.
We will demonstrate repetition by creating a square-shaped pillar, the base of which is a square with sides of 5 blocks in length and 10 in height.
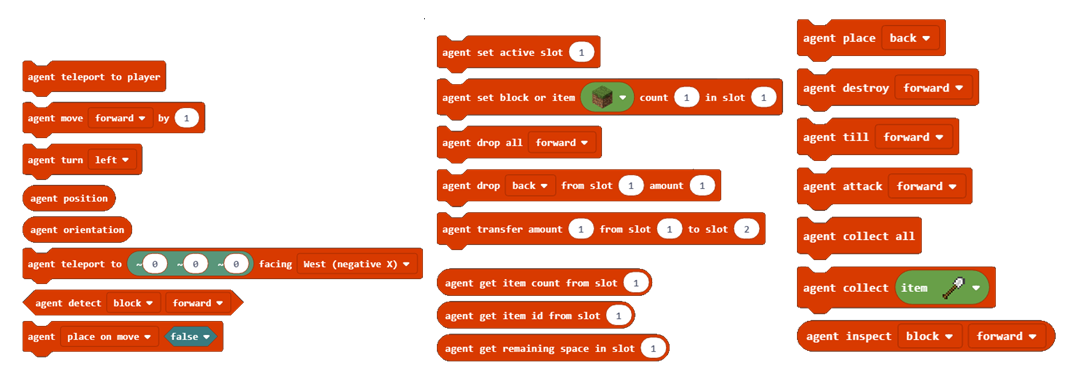
In Minecraft, we can also use an agent for performing certain actions, such as planting and harvesting, mining, cutting down trees and building objects. The blocks which relate to the agent are located in the category  :
:
Stage 1.
Thinking about the task: Moving forward 5 blocks and turning left and right (at a 90-degree angle) creates a square-shaped base. Moving on the z-axis allows the construction of the 10 blocks high tower.
Stage 2
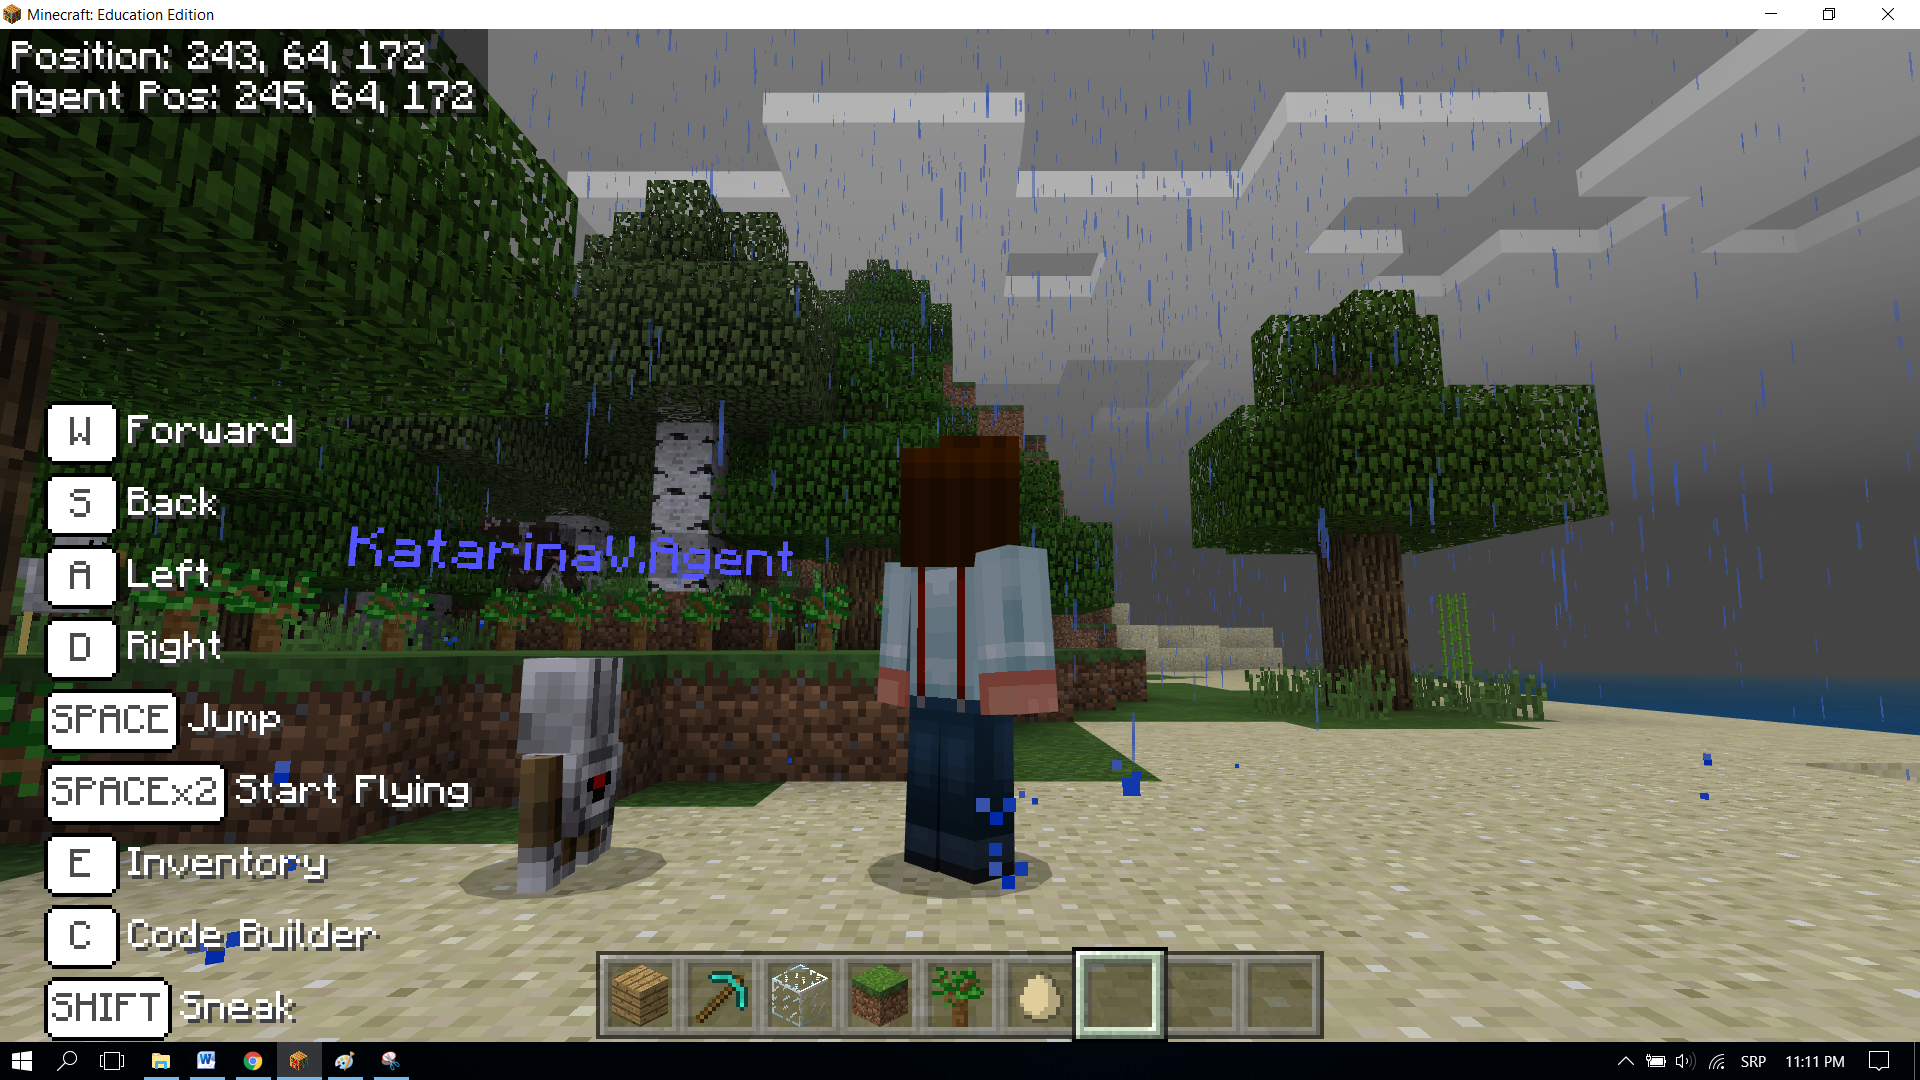
Open Code Builder (by pressing the key C); an editor window will appear where you can stack blocks.
We will divide this task into three parts:
We place the agent in a specific position in the world and give it tools for building the desired object,
creating the square base of the pillar,
creating the vertical side of the pillar.
To place the agent where we want it, we will use the block  to place the agent in the desired spot. We will place the agent in the position of our character (player) moved two blocks (steps) to the left. To achieve this, we will use the variable position, which stores the current value of the character’s (player’s) position.
We will create the variable position in the category Variables:
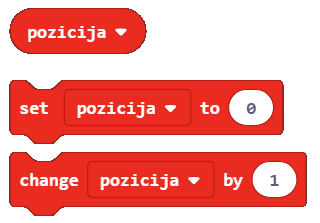
In the beginning, the value of the variable position is the current position of the character in the world moved two blocks to the left.
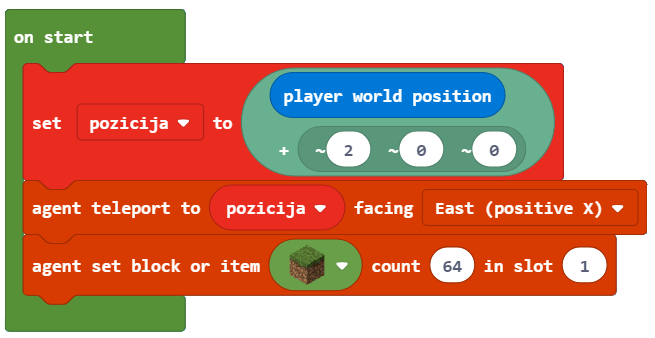
We will define the initial value with the block  . This means that each time program starts, Minecraft sets the value of the position to the desired spot (the agent is moved two blocks to the left from the character (player)), and we can start building the square base of the pillar.
From the category Variables we drag the block  , into which we will insert the block that gives us the current position of the player moved two blocks to the left.
This can be achieved in the following manner, by using the block:

from the category  .
.
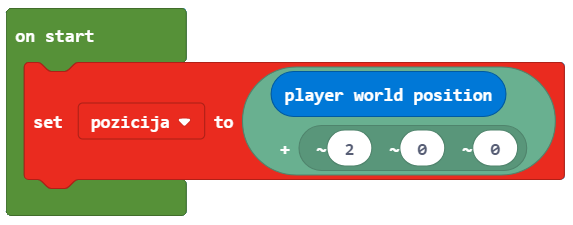
Into the upper part of the block, we will drag the block  . In the lower part of the block, in the x coordinate input field, we will put number 2.
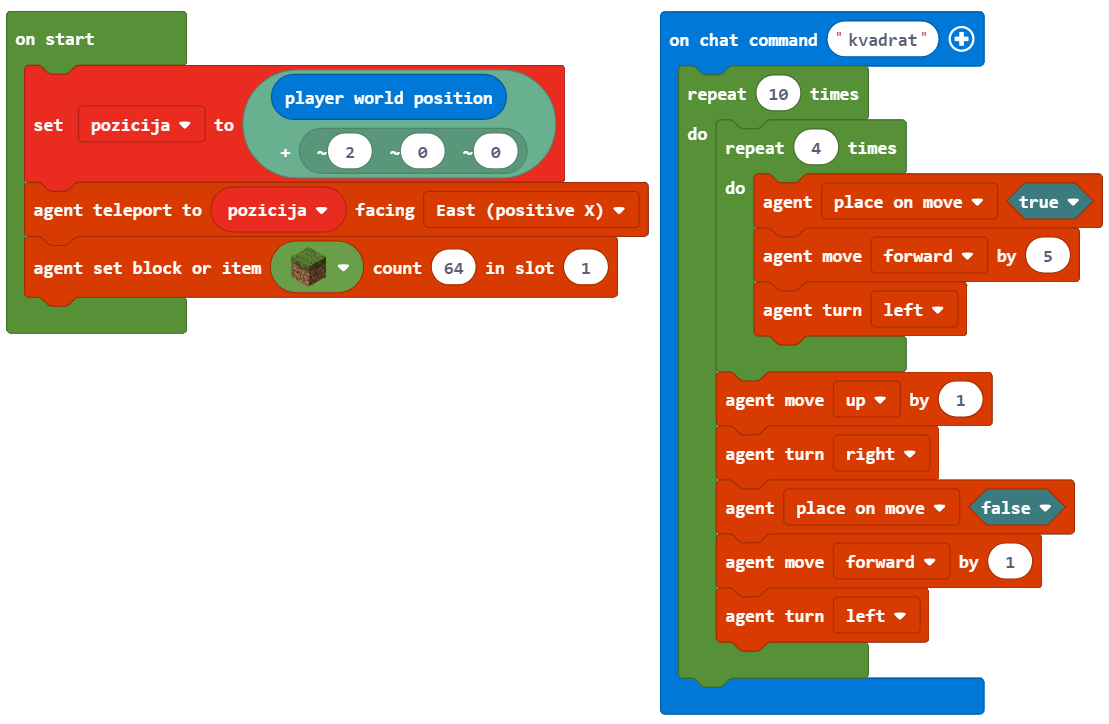
The look of the on start block:
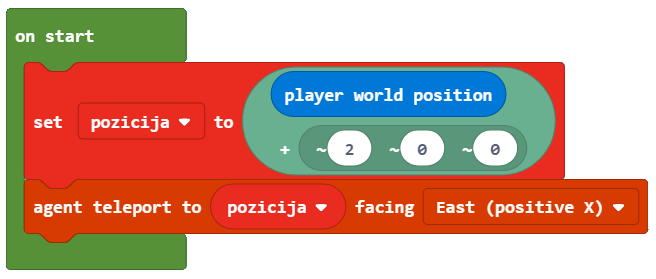
To place the agent in the desired spot, we will use the block agent  . We will put the variable position into the first argument block, and in the second argument block, we will choose East (positive X) from the drop-down list.
The look of the code:
Stage 3.
We test the program by clicking the button  :
:
In order for the agent to be able to set up blocks, we need to ensure that it has everything it needs for building pillars in its inventory. For this, we will use the block  :
:
Important: The inventory, which is opened by pressing the key E, is used by the player to manage the items it owns (carries). It consists of slots 1 to 9 in which it can “store” items it needs to create different objects.
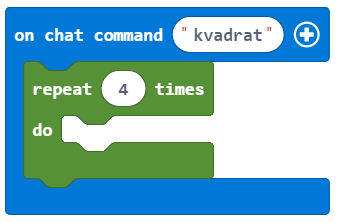
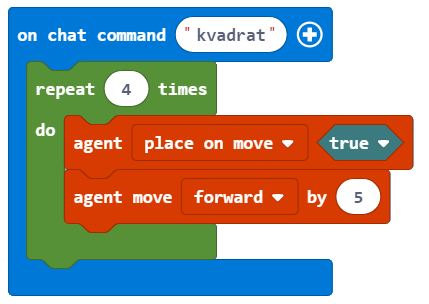
Now we need to create the square-shaped base of the pillar. In order for the agent to be able to create the square base, we need some kind of a “trigger” for that event. For this, we will use the chat and the word square.
To place the block into a square shape, with the length of 5 blocks, we will use the block  .
.
A square is a geometric figure made up of four sides of equal length, with opposite sides parallel and angles between adjacent sides 90 degrees. The square has four sides, so we will enter the number 4 into the repetition block:
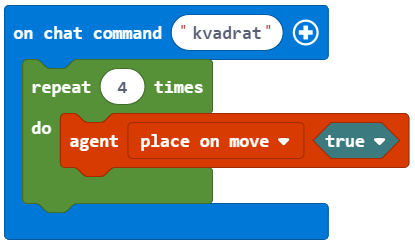
To enable the agent to place blocks by moving around in the world, we need to use the block .
For it to be able to perform the action, we need to set the second argument block to true:
The length of the side, which is 5 blocks, will be defined with the block :
The angles in a square are 90 degrees, we will achieve this by using the block :
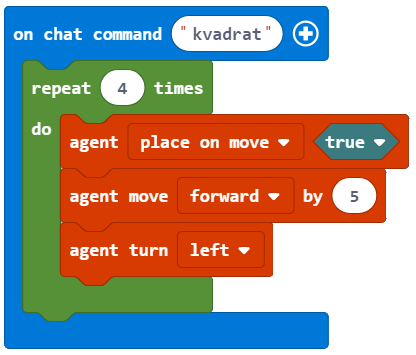
We can test the program by clicking the button .
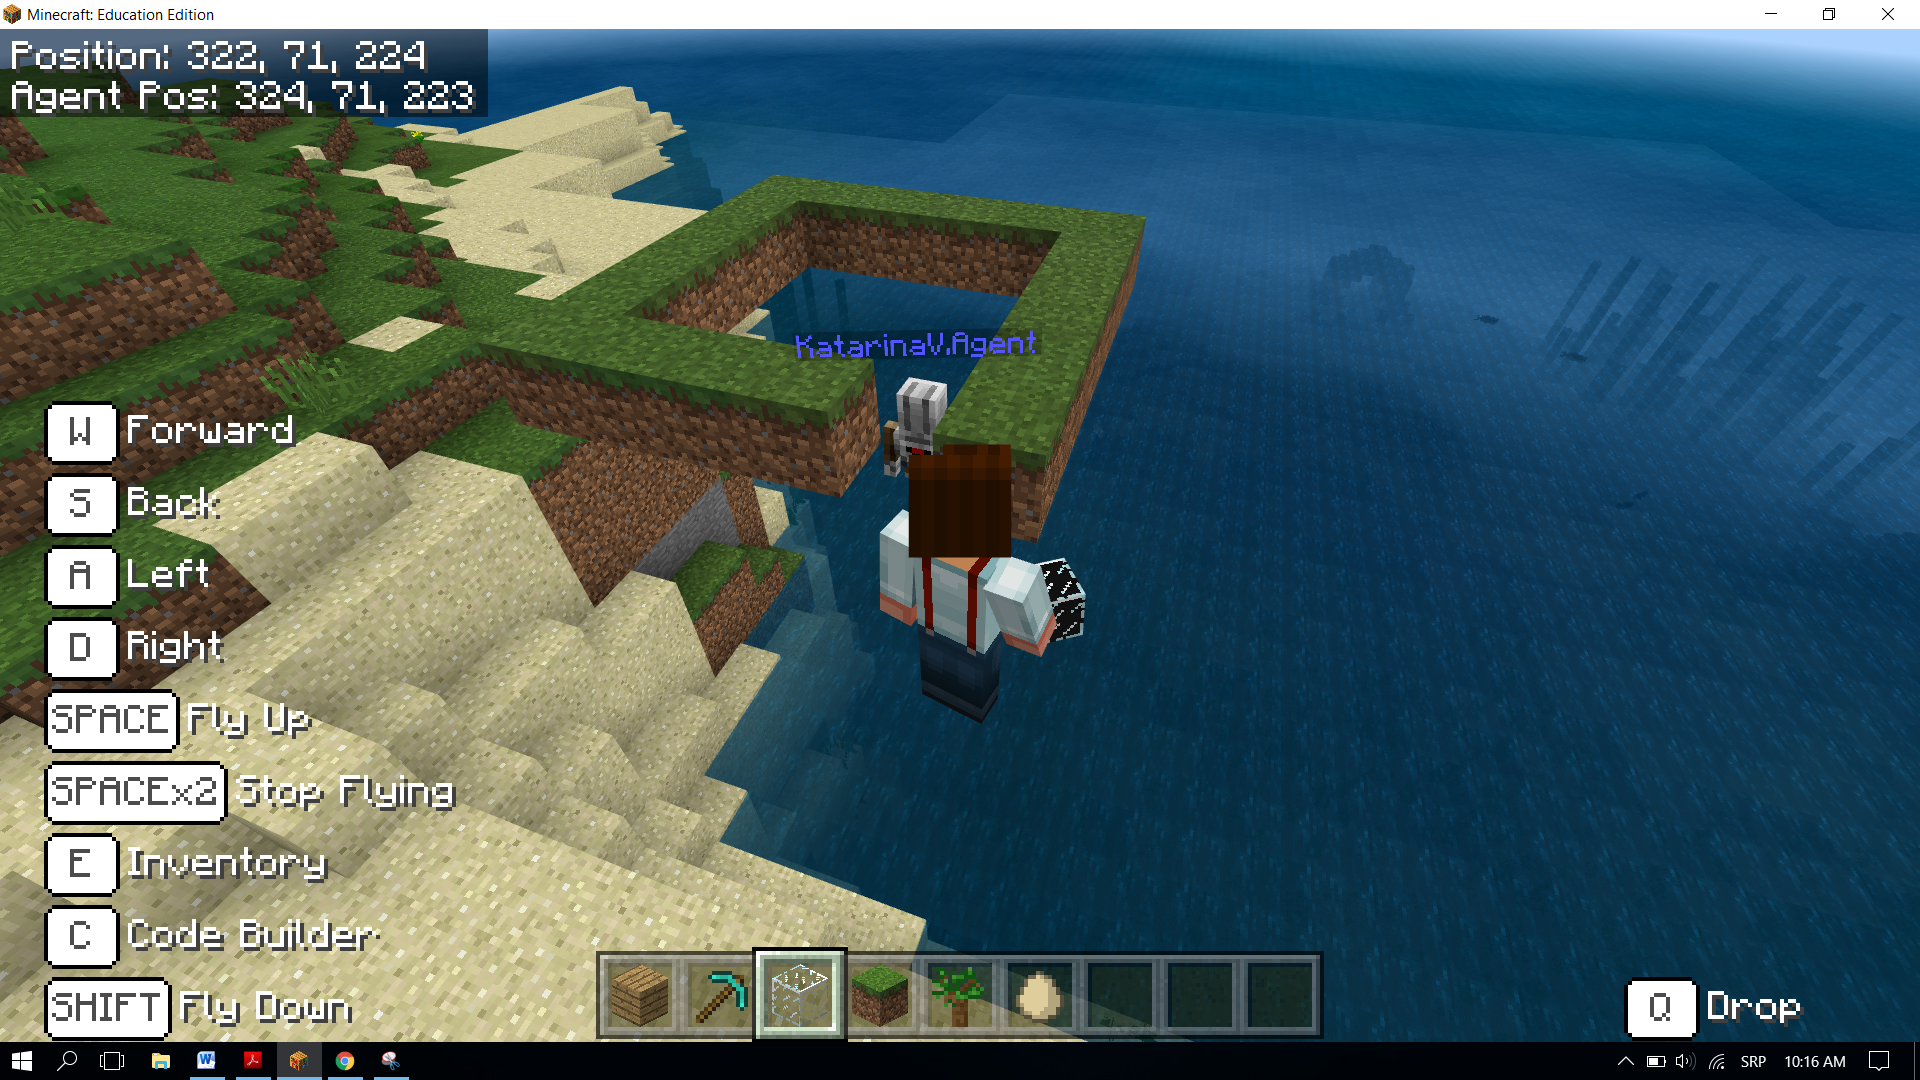
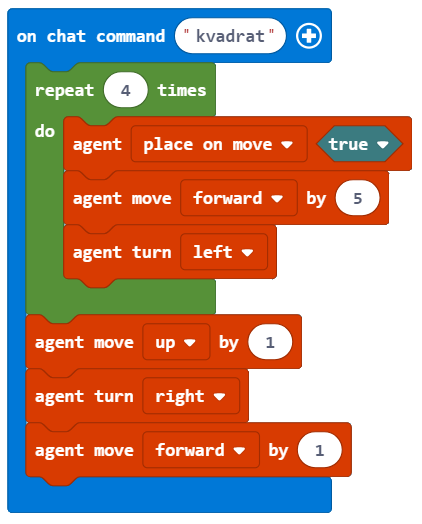
After the testing is complete, we can see that the agent did not construct the entire square.
To achieve this, we need to move the agent. We can do this by introducing the block  and choosing the option
 up from the drop-down list. We move the agent for one block, which is why we need to put 1 as the value of the third parameter:

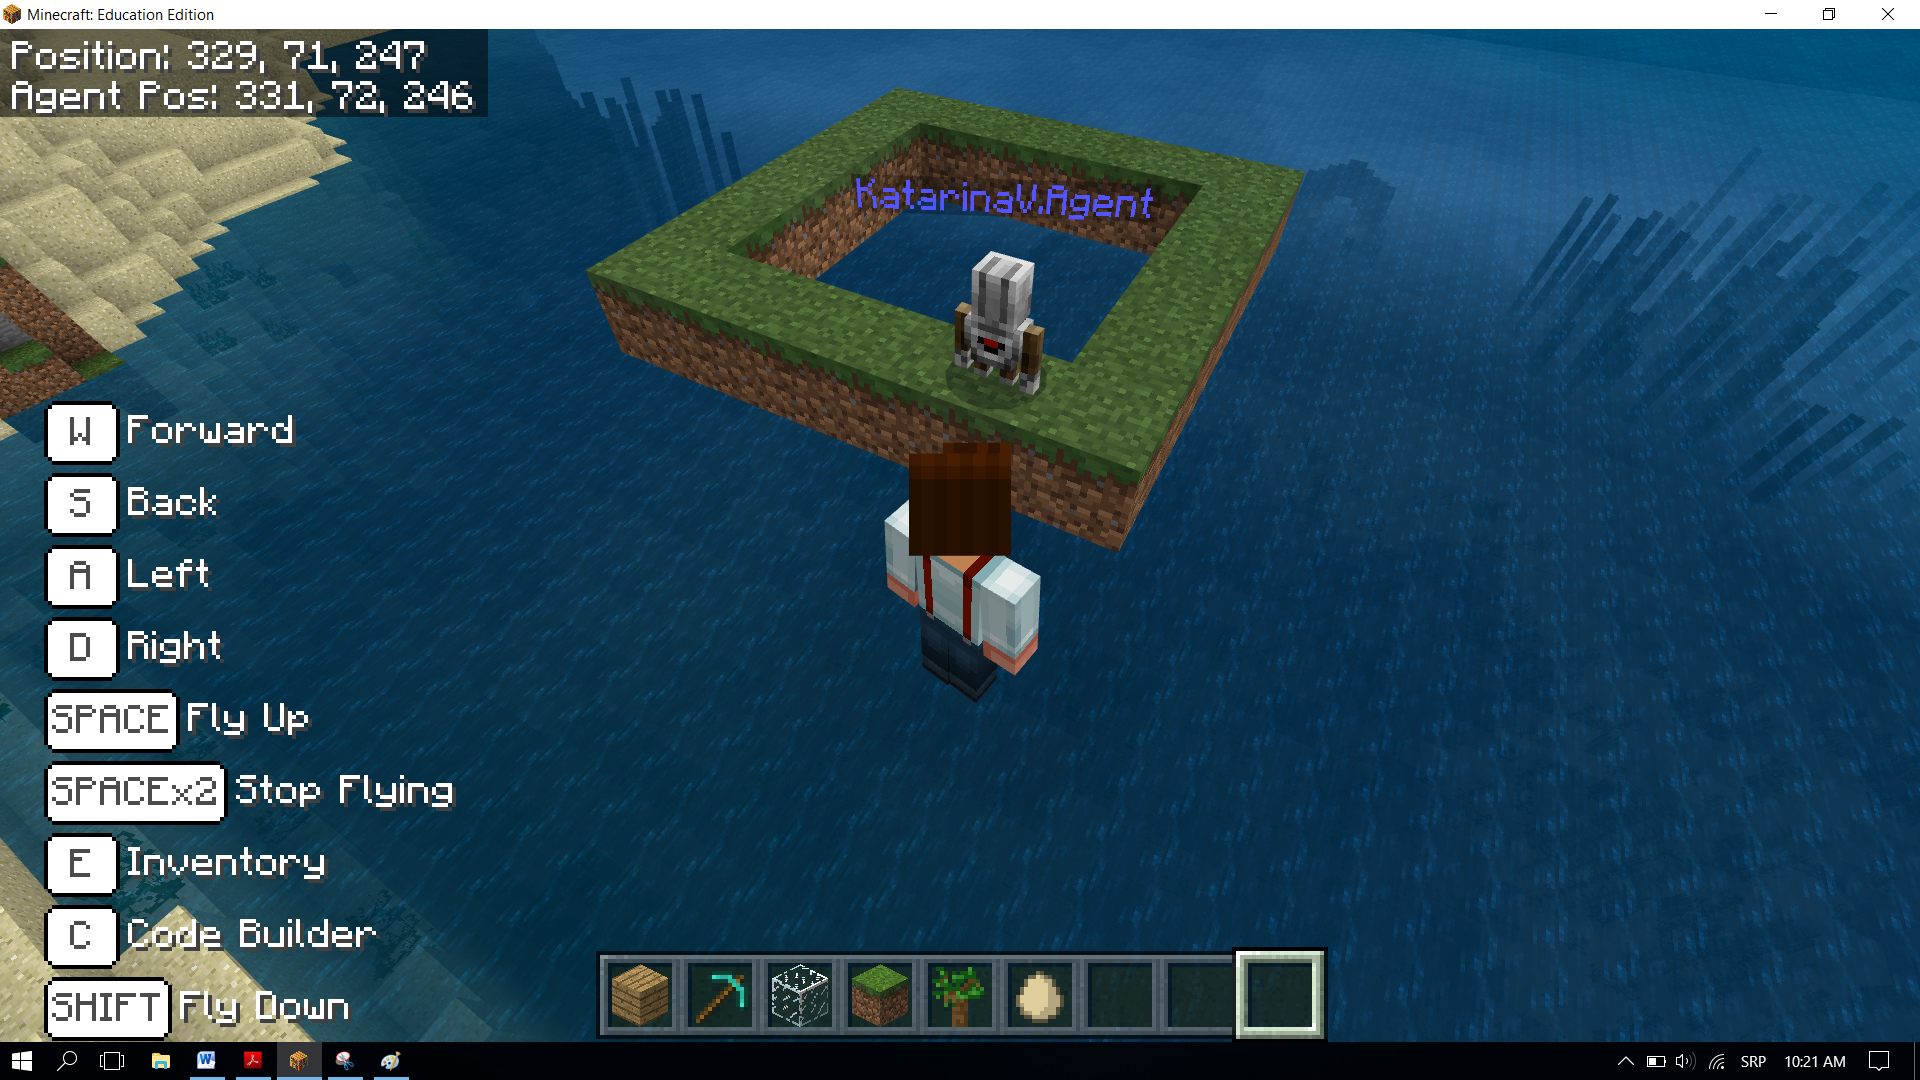
Now we will test the program again, and this time we will receive a square:
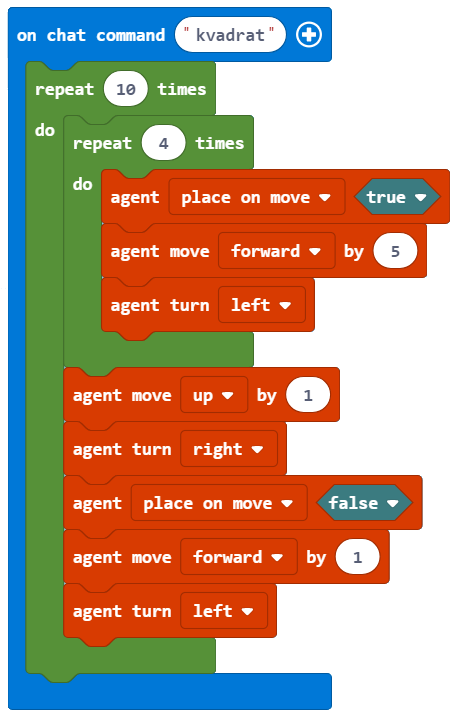
Based on the code above, we can see that the agent is not in the position, which is one block above the initial position. To place the agent in the desired position we will introduce two blocks  and :
and :
During the testing of the program, we can see that the agent leaves the block after the movement is complete. We don’t want this to happen. This is why we introduce two blocks, which will put the agent without the block into the position for building the wall:

What remains for us to do is to create the program for building the pillar, which will be 10 blocks high.
We can do this by introducing a new loop where we will insert the already completed loop (which creates the square). We will introduce the block 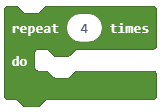 and set the value of the counter to
 10:
Placing one loop inside the body of another loop is called nesting.
The final look of the code, which will enable the construction of a pillar which is 10 blocks high and has a 5x5 square base:
Stage 3
Testing the program.
Click the button .
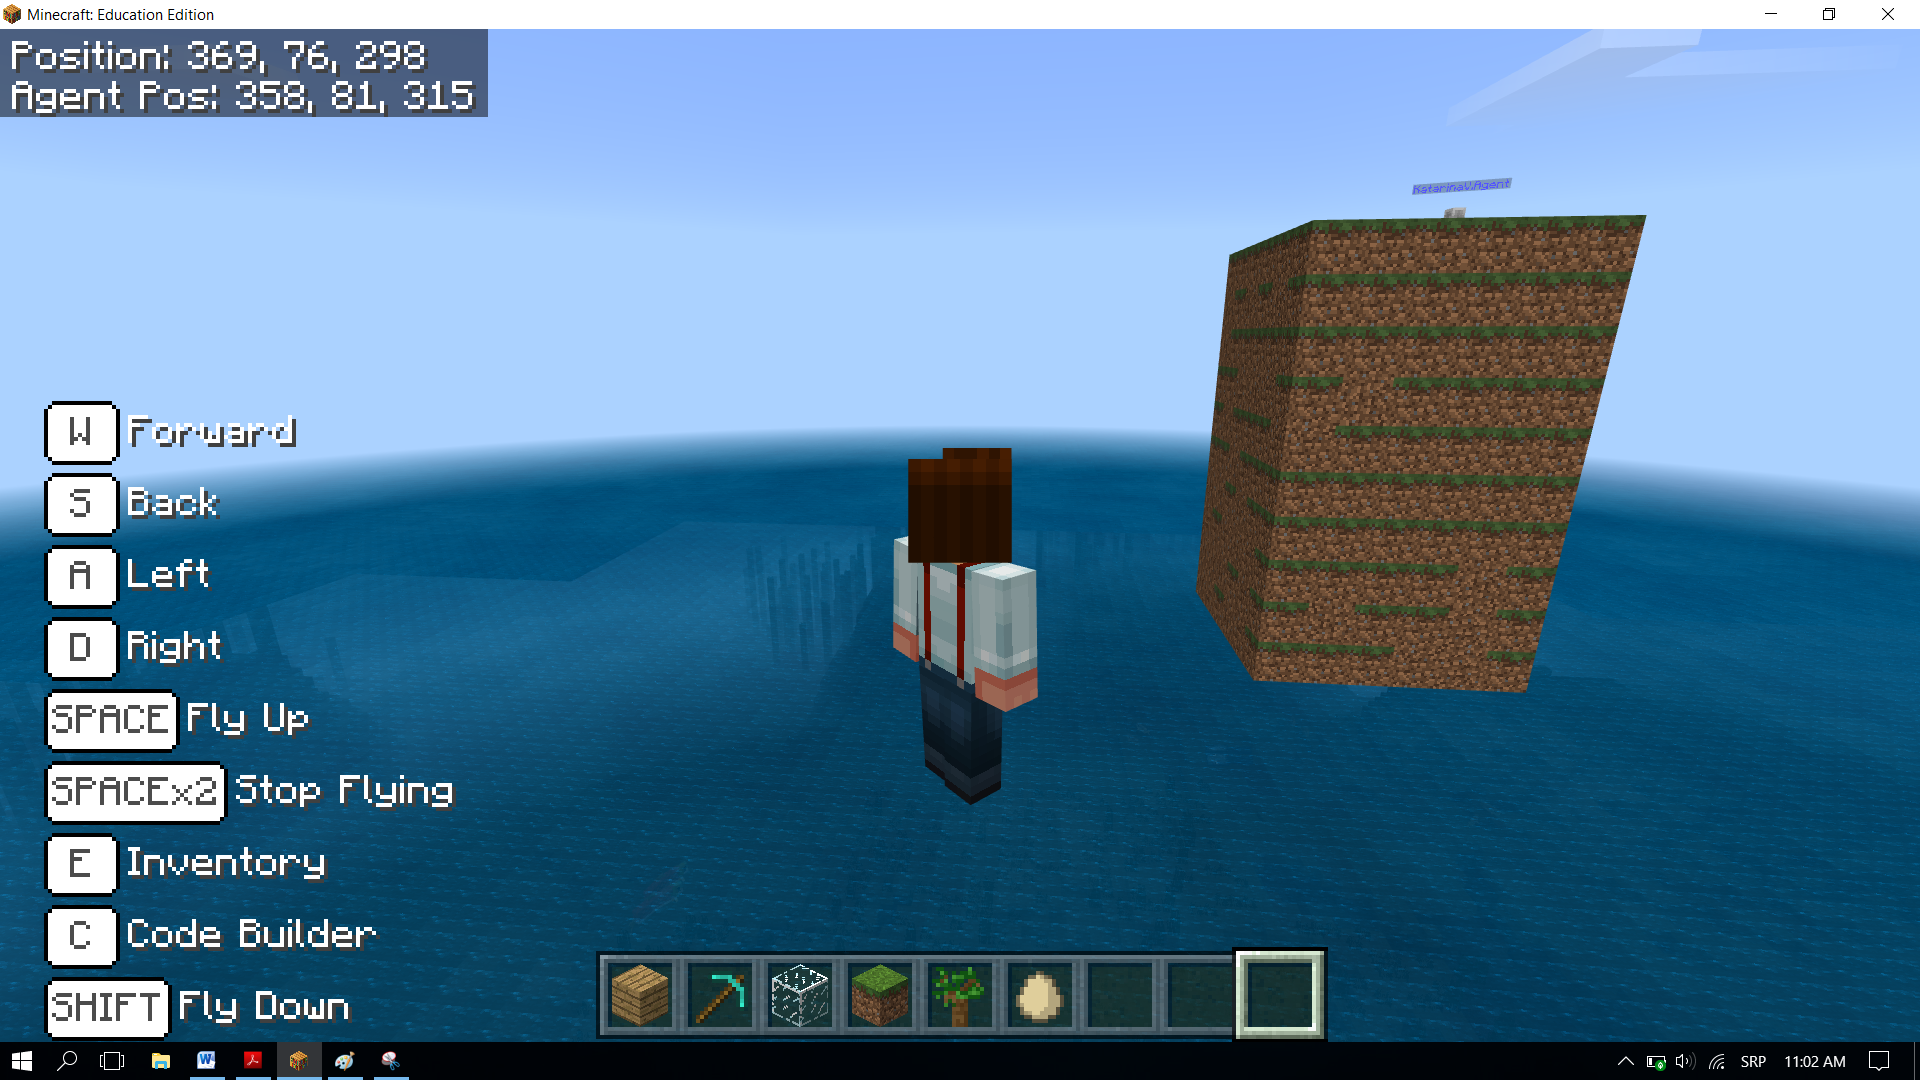
This way, we have created a pillar which is 10 blocks high and has a 5x5 square base.