Looks
In Scratch, sprites have one or more costumes. The option to change costumes gives us the opportunity to create interesting programs and animations. For this purpose, we use the blocks from the category Looks.
Thinking, speaking, changing sizes, changing costumes
We will create a program called Farm, which has two sprites - a girl Avery and a Chick. We will place them in the environment of a farm (backdrop Farm). We will put the chick in the girl’s hand. The girl will “feed” the chick and watch it grow.
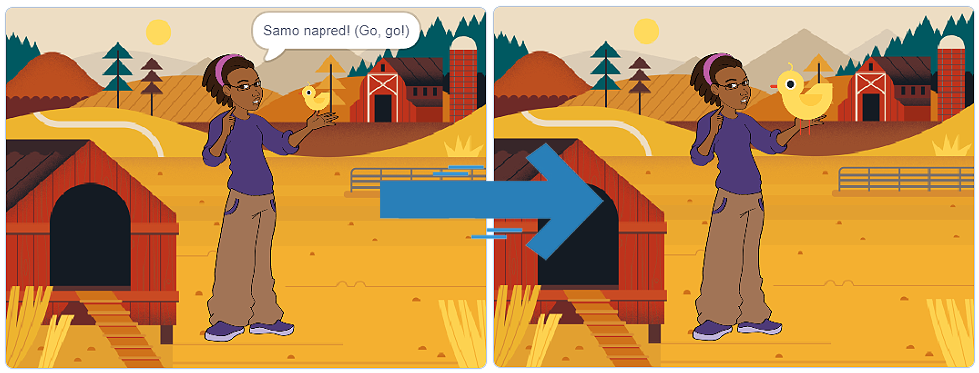
We will start with the girl’s script. For the girl, we want:
Her size to be 50% larger than the original size (150%);
Her to think “So cute…”
Her to say, “Go, go!”
We will put the chick in her hand. For the chick, we want:
Its size to be 50% smaller than the original size (50%);
It to simulate a pecking motion;
Its size to increase during the running of the program.

Watch the process of creating the program, which allows the sprites to think, speak, and change their size and costumes:
As you can see, we used several blocks from the category Looks to create our program Farm:
We adjusted the size of the sprites by using the block
 ;
;We changed the size of the sprites by using the block
 ;
;We displayed sprite’s thoughts by using the block
 ;
;We displayed sprite’s speech by using the block
 ;
;We changed sprite’s costumes by using the block
 .
.
In addition to everything mentioned above, the block 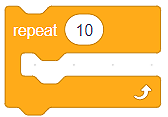 was crucial for the proper functioning of our program. Repetition is a powerful concept because it makes the code shorter, clearer, and easier to debug. By using repetition, we allowed the chick to “move”, i.e. we ensured the repetition of the command that changes the costume. The repetition blocks are located in the category Control. This category contains important blocks used for controlling the flow of the program.
 Create a program, which will simulate the functioning of a traffic light. Little help: The lights on a traffic light do not change at the same speed. Red and green lights stay on longer than the yellow.
Watch the process of creating the program, which allows you to simulate the functioning of a traffic light:
- It ensures that sprite's thoughts remain on the stage.
- You're absolutely right!
- It ensures that sprite's thoughts change constantly.
- To enable the thoughts to change constantly, you need to use the appropriate block for repeating the command for displaying sprite's thoughts.
Q-4: We draw your attention to the existence of blocks that execute similar commands to the ones we have presented in this lesson. For example, the block  ensures that sprite’s speech does not disappear from the stage. We assume that you can conclude what is the purpose of the block
  .
.
In addition to the above, the category Looks contains several other blocks.
The same way we can choose sprite’s costumes, we can also choose the stage backdrop by using the block  .
.
The blocks that allow us to show  or hide
  a sprite are also very useful. We will use these blocks in the following lessons.
We will let you discover for yourself how you can play with the color and look of your sprite by using blocks for changing the color or effect (change…), setting the color or effect (set…), as well as for deleting all graphic effects (clear graphic effects):
