
Project Task - the Bracelet
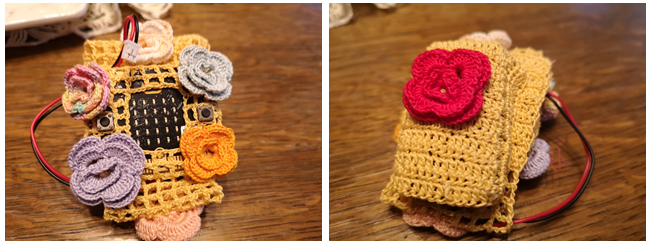
In one elementary school, at the end of the second grade, students present to their parents what they learned during the second grade. During the event, several students should be wearing bracelets, which should display flowers when students wearing them move their hands.
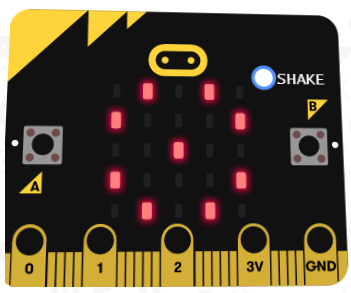
A bracelet, which displays flowers can be made by using a Micro:bit device. The appearance of flowers will be simulated by LEDs turning on and off every time the user moves his/her hand.
For making the bracelet, you will need:
1 Micro:bit
Fabric or decorative paper
Scissors
Adhesive tape/Thread
It is necessary to program the Micro:bit to show a flower on its display (5x5 LED grid) every time the user shakes his/her hand.
Step 1
Go to https://makecode.microbit.org/.
We want to create a program, which will allow the Micro:bit display to show a flower every time a movement is made, more precisely, we want to register any type of movement with the Micro:bit device by using its accelerometer. The display puts out the desired image (by turning on the LEDs) only when a movement is detected.
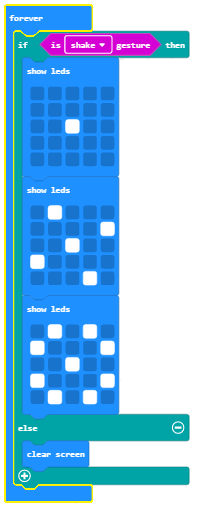
For solving this task, we will use one of the conditional blocks (branching blocks) with the condition being that a movement has been made. Which line (branch) of the code will be used depends on whether the condition has been fulfilled or not. If a movement has been registered, the Micro:bit device will display a flower, and if not, the LEDs will stay turned off.
Step 2
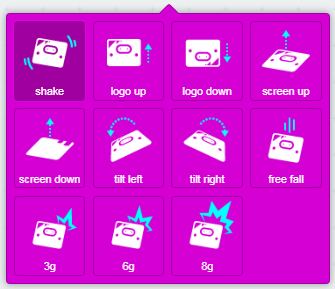
Start a new project and drag the block 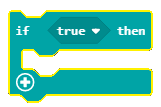 from the category
  into the block
 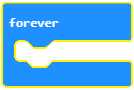 , located in the category
  .
.
The blocks placed inside the forever block will run until the Micro:bit is turned off.
Drag the block  (located in the category
  ) into the input field for the condition
  .
.
From the drop-down list of the block :
choose the  option. This option registers movements.

Based on the setup of the task, a flower will be displayed on the Micro:bit when a movement has been registered (i.e. in our case when the condition has been fulfilled). It is necessary to drag the blocks for displaying the flower (which turn on specific LEDs) from the Basic category into the branch (condition fulfilled, or branch YES):
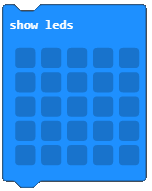
We will use three show leds blocks for displaying the flower. These blocks will be used for displaying the desired image of a flower.
The look of the program when a movement has been made:

Based on the setup of the task, there is also a condition which says that if a movement has not been registered, nothing should be displayed on the Micro:bit. To achieve this, we need to add a branch, which will run certain blocks when the condition has not been fulfilled (in our case, when there is no movement). We can add this branch by clicking on the sign  . To this branch we will add the block
  , which is used to clear the Micro:bit display.
The final look of the code for the bracelet:
Simulation:
Step 3
Download the .hex file to your computer by clicking on the button  . The Micro:bit will be ready to start working once you have dragged the file onto it.
When you finish programming the Micro:bit, place it into the already made bracelet case and start using it.
Bracelet:
