
Project Task - Robot Movement
We will begin our adventure with a simple program, which allows the robot to move forward for 2 seconds and then moves backward for 2 seconds.
The first step in our example is to start the motor. We need to select the block  from the category
  , and drag it onto the work surface and into the block
  . Initially, we have to decide to which ports we will connect out motors. We have already mentioned that the EV3 has four ports for motors - A, B, C and D.
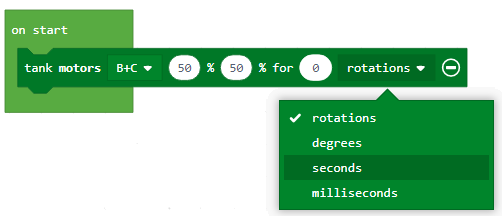
In our case motors are connected to the ports B and C, and their speed 50%. Since, based on the setup of the task, the robot should move forward for 2 seconds, we need to click on the plus sign on the block , this will give us the option to choose the manner in which the robot will move.
In our case, we need to choose the option “seconds”.
After this, we need to adjust the duration of the robot’s movement by entering 2 in the input field  . This way, we will allow the robot to move for 2 seconds.
The look of the code, which allows the robot to move for 2 seconds:

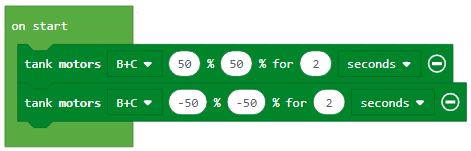
Finally, to allow the robot to move backward, we need to set the motor speed value to be negative. We will set the value at -50.
The look of the final code:
Connect the EV3 Brick to the computer via USB cable and click on the download button located in the bottom of the screen. Follow the instruction on how to save the program on the EV3 Brick.
Download the .uf2 file to your computer by clicking the button  . By dragging the file onto the EV3, it is ready to start working.
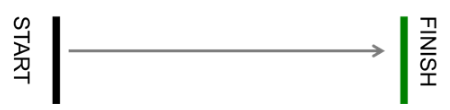
To demonstrate how the robot moves, we will give another simple example of a program, which allows the robot to move from the starting line to the finishing line, and back. The distance to the finish is 50cm.
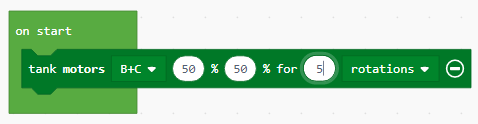
Based on the setup of the task, the robot is moving forward 5 rotations (360 degreed = 1 rotation), therefore, we need to drag the block from the category , onto the work surface and into the block .
In our case, the motors are connected to the B and C ports at 50% speed. Since, based on the setup of the task, the robot moves 5 rotations, we need to click on the plus sign on the block, which will open the option for choosing the manner in which the robot will move. This time, we need to select the option “rotation”. Then, we need to set the duration of the robot’s movement by entering the value 5 in the input field. This way, the robot will move for 5 rotations.
The part of the code, which allows the robot to move 5 rotations:
We will use the block to rotate the robot. Turning is defined as the change in the speed of one motor in relation to another motor, or more precisely, if we want to make a quick or sharp turn to the right, the left motor must run at least twice as fast as the right. In order for the robot to make any type of turn, we need to use the input field turn ratio. If we want the robot to turn left, we will set a negative value, and if we want it to turn right, we will set a positive value. To allow the robot to come back from the finishing line to the starting line, we will use the same block. To stop the functioning of all motors we will use the block 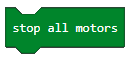 .
.
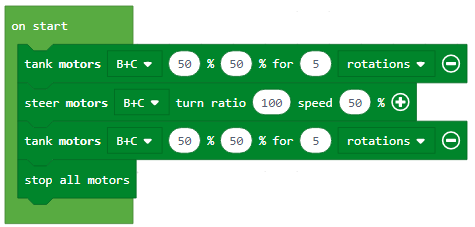
The look of the code, which allows the robot to move from the starting to the finishing line:
Download the .uf2 file to your computer by clicking the button . By dragging the file onto the EV3, it is ready to start working.