
Project Task - Happy or Sad
Until now, all the programs we have created were linear programs, more specifically, these were programs where commands are executed consecutively, one after the other until the end of the program.
Unlike these programs, where every step, i.e. every command, is executed once, in decision-making algorithms, or more precisely, conditional (branch) algorithms some of the commands will be executed, and some won’t, which will depend on whether the condition has been fulfilled or not.
We will demonstrate the use of decision-making blocks by creating a program, which will display different images on the EV3 screen, depending on whether the touch sensor is pressed or not. If the sensor is pressed, the EV3 is happy - a smiley face will be displayed on the screen, and if not, a sad face will be displayed on the screen.
In some programs, the execution of the blocks doesn’t have to be done in the same order they were placed in the program. The decision-making blocks are used when we need to choose which stack of blocks will run. Which line (branch) will be chosen depends on whether the condition has been fulfilled or not. For the robot, whether or not the condition was fulfilled, depends on the information it receives from the sensor.
To create a program which will display a smiley or a sad face, depending on whether the touch sensor is pressed or not, we need to start a new project.
Into the block  (located in the category
  ) we will drag the block
 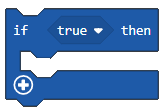 from the category
  . Into the condition input field
  we will drag the block
 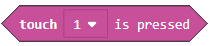 .
Based on the setup of the task, when the sensor is pressed, the program should display the happy (smiley) face. We need to drag the block
.
Based on the setup of the task, when the sensor is pressed, the program should display the happy (smiley) face. We need to drag the block 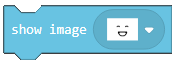 from the category
  into the branch YES.
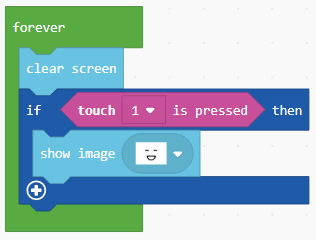
The look of the program when the sensor is pressed and the simulation.
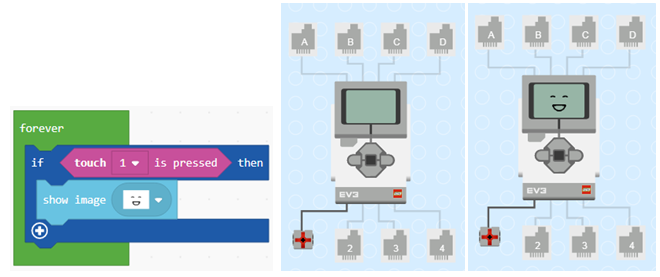
We can see that, even when we release the sensor button, the image of the happy face remains on the EV3 Brick screen. To correct this mistake, we will have to use the block  .
.
The look of the program when the sensor is pressed.
Based on the setup of the task, there is also the condition which allows a sad face to be displayed on the EV3 Brick screen when the touch sensor is not pressed. To achieve this, we need to add another branch “else” by clicking the sign  . Within this branch, we will add the block that will display the sad face on the screen.
The final look of the code when the touch sensor is pressed or not pressed, and the simulation:
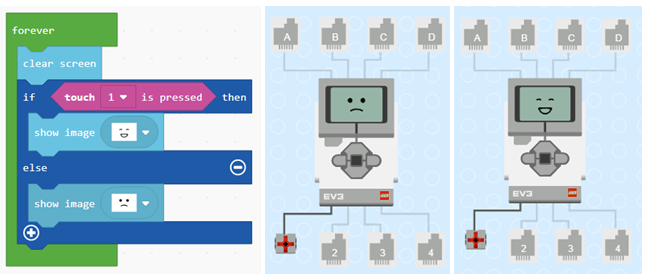
In this example, the upper line of the code will run if the button is pressed, and the lower line will run if the button is not pressed.
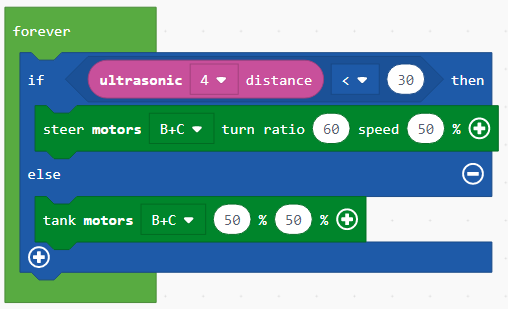
To illustrate this, we will give one more example: We need to create an application with which the robot is moving forward until it sees an obstacle (the distance should be less than 30cm). When the robot sees the obstacle, it should turn to the right, thus trying to go around it.
Into the block (located in the category ) we will drag the block from the category . Into the condition input field we will drag the block 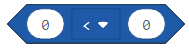 , which is a comparison operator. To create the condition where the distance between the robot and the obstacle is less than 30cm, we will assemble the block
  . Based on the setup of the task, when the obstacle is less than 30cm away, the robot will turn right; otherwise, it will move forward (if the condition is not fulfilled, that is, the robot doesn’t see the obstacle).
We will add the block for turning  and for moving forward
  .
.
The look of the final code:
Connect the EV3 Brick to the computer via USB cable and download the .uf2 file to your computer by clicking the button  . By dragging the file onto the EV3, it is ready to start working.